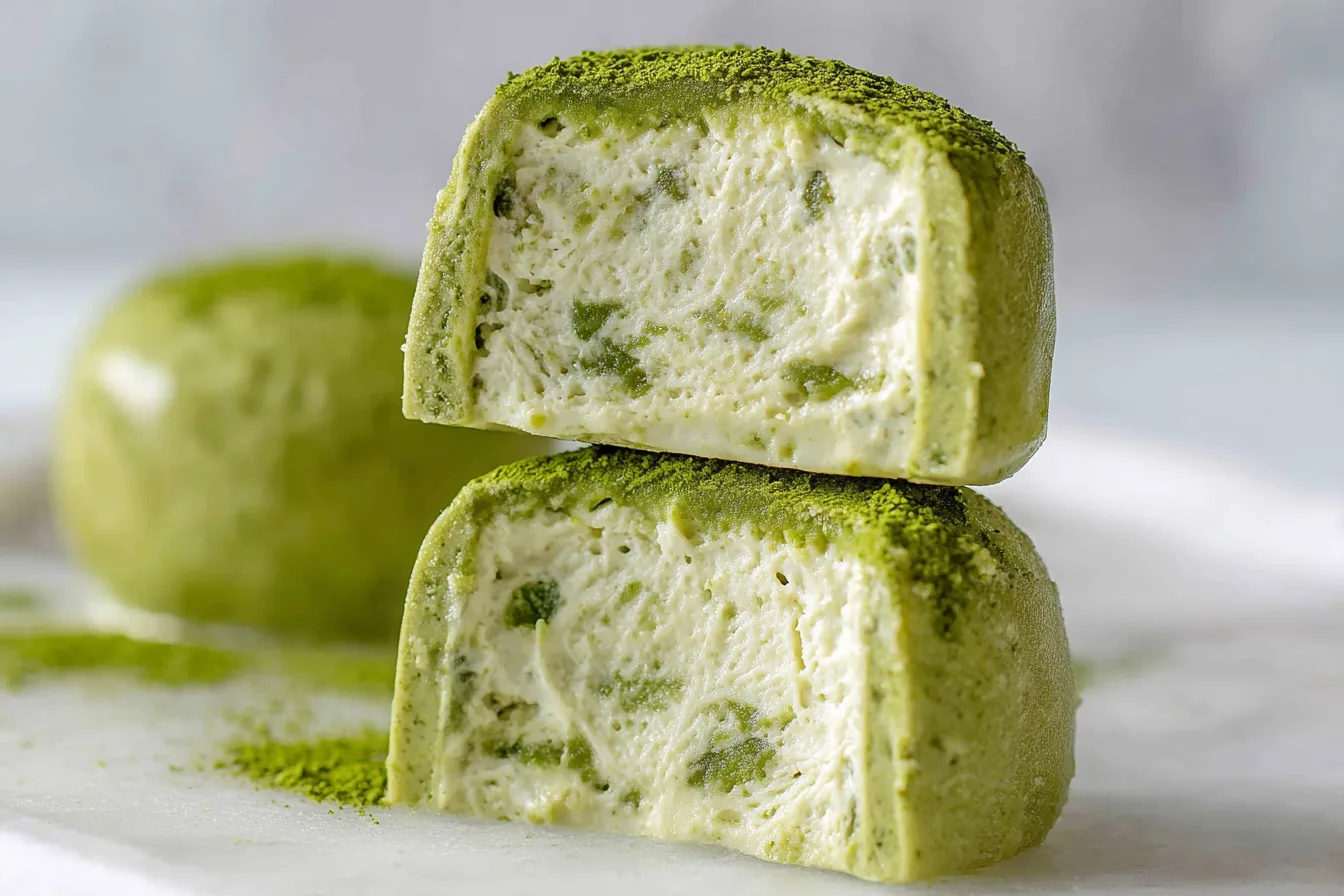
Matcha Mochi Ice Cream: A Delightful Snack to Savor Anytime
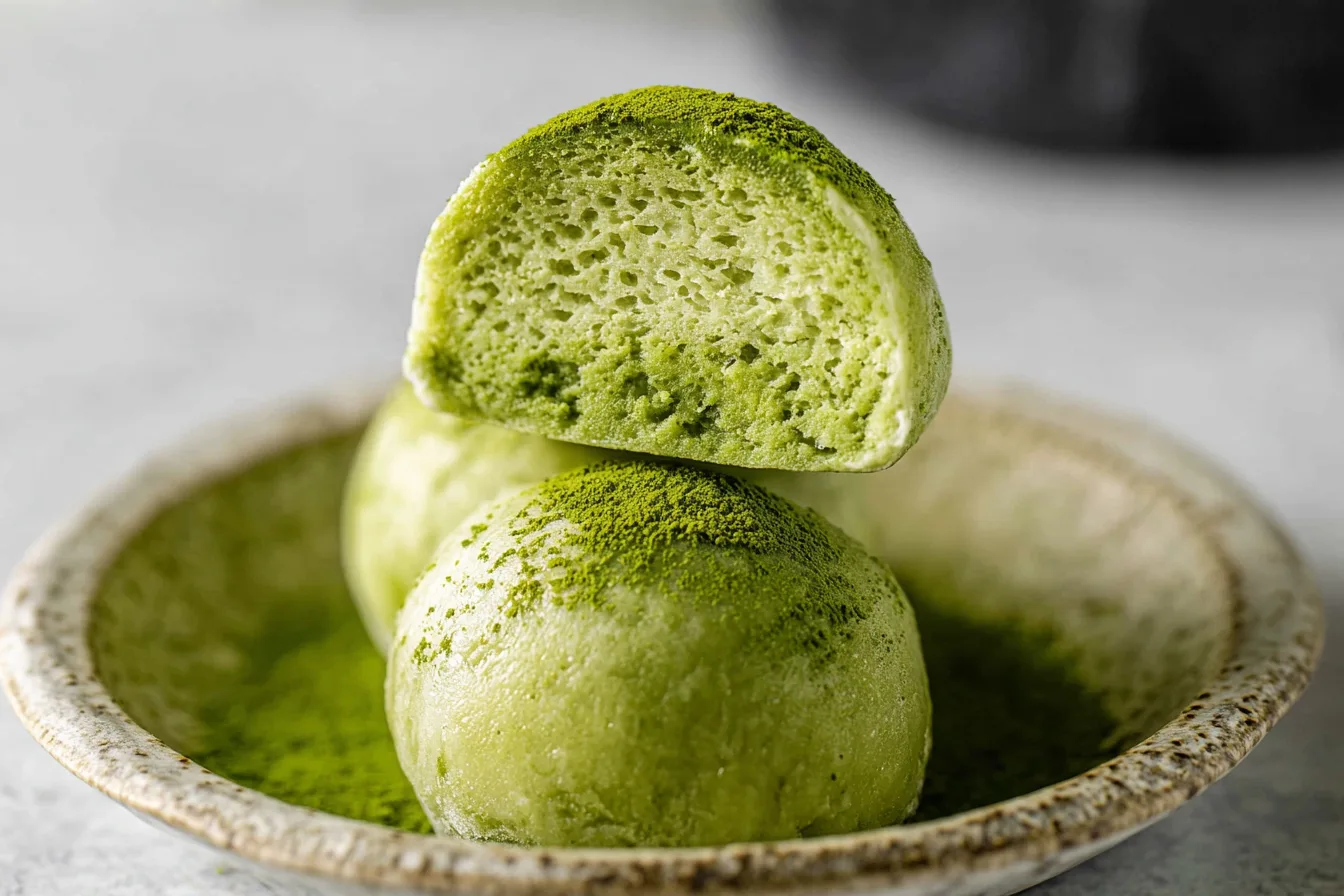
Matcha mochi ice cream just has that magic, you know? The first time I tried it, honestly, I thought it was the fanciest dessert ever—green tea and chewy rice dough hugging a scoop of creamy ice cream. It’s a treat that feels a bit like a celebration, even if you’re just sneaking one from the freezer on a random Tuesday.
So, if you’ve ever wanted something sweet but not too heavy, this is it. Matcha mochi ice cream isn’t just a dessert—it’s kind of a little adventure in a bite. And, well, it’s surprisingly doable at home. Don’t worry if you mess up a step or two, it still tastes awesome.
Personal Anecdote
The first time I made matcha mochi ice cream at home, I remember laughing at how sticky my hands got—like, seriously, mochi dough is wild. But there’s something about making them yourself, each little ball a bit different, some lopsided, some perfect. It’s a memory now, standing in my kitchen late at night, dusting everything with cornstarch and just hoping the ice cream wouldn’t melt too quick.
Why This Recipe is Special
What makes this one stand out? Well actually, it’s the way the matcha flavor comes through—earthy, a little sweet, wrapped in that soft mochi. Plus, it’s naturally a Dessert, but honestly, I could see myself grabbing one as a midday pick-me-up, too. The combo of textures is just so satisfying. And if you want to impress friends (or just treat yourself), homemade matcha mochi ice cream always gets a wow.
Ingredients breakdown
| Ingredient | Quantity |
|---|---|
| Green tea ice cream (or vanilla + matcha powder) | 1 pint (16 oz or 473 ml) |
| Glutinous rice flour | 1 cup |
| Matcha powder | 2 teaspoons |
| Sugar | 3 tablespoons (45 grams) |
| Water | 1 cup |
| Cornstarch (for dusting) | as needed |
Utensils and substitutions
Okay, you’ll need a few things: an ice cream scoop, a big bowl, rolling pin, sieve for dusting, and plastic wrap. If you don’t have a pastry brush, don’t sweat it—dust off extra cornstarch with your fingers, it works fine. For vegan folks, swap in your favorite plant-based ice cream and you’re set. And if you’re nervous about food safety (because, yeah, ice cream melts fast!), check out foodsafety.gov for tips on handling frozen desserts. Just remember—messy is normal here, and that’s kind of the fun.
Step-by-step method
Step 1
First, let’s get started by preparing the matcha mochi ice cream filling. You want to scoop out your green tea ice cream into nine even balls. If things get a bit melty, pop them back in the freezer until they’re solid. Sometimes my freezer is too full, so I have to shuffle things around. Don’t stress if your scoops aren’t perfect—it’s all part of the homemade charm.
Step 2
Next, make the mochi dough in a large microwave-safe bowl. Combine glutinous rice flour, matcha powder, sugar, and water, and then give it a good stir. Cover and microwave for two minutes, stir, then microwave a bit more until thick and stretchy. I always peek through the microwave window, hoping it won’t overflow. Sometimes I have to zap it an extra ten seconds here or there, and that’s perfectly fine.
Step 3
Afterward, dust your work surface with cornstarch and roll out the mochi dough. Cut circles using a small bowl, then wrap each ice cream ball with a mochi circle, using cling wrap to help seal it up. If the dough tears, just patch it together—no one will notice once it’s frozen! Freeze the wrapped balls for at least an hour before serving. The process gets easier the more you do it, even if your first few look a little funny.
Tips and tricks to make this recipe shine
For the best matcha mochi ice cream, keep everything as cold as possible. If your kitchen is warm, work near the open freezer. Dusting with cornstarch really helps with sticky dough, but don’t overdo it or you’ll taste the starch. If you want a stronger matcha flavor, add an extra half teaspoon of powder to the dough. Remember, imperfect mochi is still delicious!
What to serve with this recipe
Serve matcha mochi ice cream on a cute dessert plate, maybe with fresh berries or a sprinkle of extra matcha powder. Sometimes I like to add a dollop of whipped cream on the side—simple but so good. If you’re feeling fancy, a drizzle of chocolate sauce makes it extra special, though honestly, they’re lovely just as they are.
How to store and reheat
Store your matcha mochi ice cream in an airtight container in the freezer. I usually separate each piece with parchment paper so they don’t stick together. They keep well for up to two weeks, though they rarely last that long in my house. There’s no need to reheat—just let them sit at room temperature for 2–3 minutes before eating so the mochi softens a bit. If you forget and they get too hard, just wait a little longer; patience is the hardest part!
Print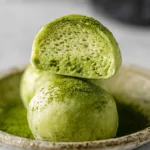
Easy Matcha Mochi Ice Cream Recipe for Dessert Lovers
- Total Time: 2 hours 38 minutes
- Yield: 9 servings
- Diet: Vegetarian, Can be vegan
Description
Enjoy the delicate blend of creamy matcha ice cream wrapped in soft mochi dough for a refreshing dessert treat.
Ingredients
1 pint green tea ice cream or vegan vanilla ice cream combined with 2 tablespoons matcha powder
2 teaspoons matcha powder
3 tablespoons sugar
1 cup water
Cornstarch for dusting
Instructions
Part 1 – Preparations
Divide vanilla ice cream between two containers, add and mix half the matcha powder in each.
Scoop 9 ice cream balls, flatten bottoms, freeze for at least 2 hours.
Part 2 – Making the mochi dough
Combine glutinous rice flour, matcha powder, sugar, and water in a microwave-safe bowl.
Microwave covered at 750W for 2 minutes, stir briefly, then microwave 30 seconds more.
Continue microwaving in 10-second bursts until thickened.
Part 3 – Cutting out the mochi dough
Dust a flat surface with cornstarch, place mochi dough, dust top.
Roll into a large rectangle, cut circles with a bowl, dust cutter rims.
Layer mochi circles on plastic wrap, sprinkle cornstarch, refrigerate 15 minutes.
Part 4 – Wrapping Time
Remove one mochi skin, brush off excess cornstarch.
Place one ice cream scoop center, position rounded side down.
Fold dough edges over ice cream, twist plastic wrap to seal.
Return mochi to freezer, repeat for each ball.
Freeze finished mochi for at least 1 hour before serving.
Notes
Use plastic cling wrap to help seal mochi balls and prevent sticking.
If ice cream is too soft when scooping, freeze it first for better shape.
Chill mochi skins before wrapping to keep mochi firm.
Freeze mochi overnight for best texture.
- Prep Time: 20 minutes
- Cook Time: 3 minutes
- Category: Dessert
- Method: Microwaving, rolling, freezing
- Cuisine: Japanese
Nutrition
- Serving Size: 1 serving
- Calories: 160
- Sugar: 14
- Sodium: 10
- Fat: 5
- Saturated Fat: 3
- Unsaturated Fat: 1
- Carbohydrates: 26
- Fiber: 1
- Protein: 2
- Cholesterol: 15
FAQ
Can I use store-bought matcha ice cream?
Absolutely! Store-bought matcha ice cream works great and saves time.
Is glutinous rice flour the same as regular rice flour?
No, glutinous rice flour is different and gives the mochi its chewy texture. Regular rice flour won’t work.
Can I make this recipe vegan?
Yes, just use your favorite vegan ice cream for the filling.
Why is my mochi dough too sticky?
Try dusting with more cornstarch and let the dough cool a bit before handling.
How long will matcha mochi ice cream keep?
They stay fresh in the freezer for up to two weeks if stored properly.
Making matcha mochi ice cream at home is a little messy but so rewarding. Don’t worry if your first batch isn’t picture-perfect—each bite is a sweet reminder of effort and care. I always end up laughing at my lopsided mochi, and they disappear just as quickly. If you enjoyed this recipe, follow us on Pinterest for more cozy dessert ideas!